Crash Bandicoot: The Wrath of Cortex - Release Trailer
A promotional trailer was released when the game was nearly finished. There are a lot of differences between the final version, some of which are covered in the Late Prototypes page.
HUD and Fonts
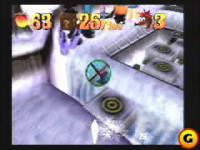
(contributed by LXShadow)The trailer shows the original font and HUD. These icons were originally used in the crates too, but the trailer shows the final crate icons in place.
Where's the Kaboom?
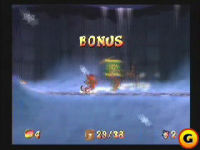
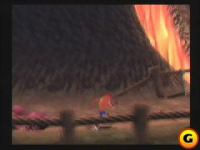
(contributed by LXShadow)This is the area in Crash and Burn where the hut on the right usually explodes. The reason it doesn't explode here is because, well, it's not even there to begin with.
I Feel a Draft
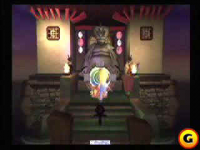
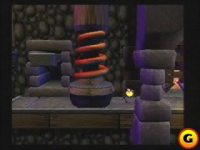
(contributed by LXShadow)Wizards and Lizards is missing the door on the left.
Portals / Relic Crate
- Instead of the floating device at the end of each level, there used to be water-y portals of different colors that took you back to the Warp Room.
- The first screenshot shows Coco jumping on what seems to be a "!" crate, but instead of 4 exclamation marks flying off of it, there are relic symbols instead for some reason.
- Both screenshots show areas not seen in the final version. The first one is from a removed portion of Banzai Bonsai, while the second one is from Artic Antics.
Compactor Reactor
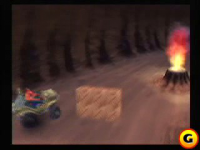
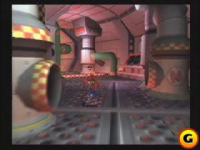
Instead of using a mine cart, Crash originally drove the jeep to the facility. The trailer shows how it was capable of stopping and turning around completely, rather than being semi-automated.
Fahrenheit Frenzy
(contributed by LXShadow)- Crash would begin his journey through Fahrenheit Frenzy in the cave seen in the first screenshot. In the game, he starts a little further ahead and the cave can't be accessed at all.
- The second screenshot shows a later part of the level without any crates, hazards or enemies.
Crash and Burn
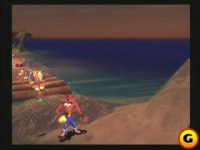
(contributed by LXShadow)- The first screenshot shows one of Crash and Burn's infamous unused areas. This may be the small volcano island that was removed from the game.
- The camera angle in the second screenshot is quite different. It's usually behind Crash during this part.
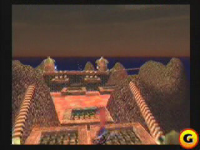
- The third screenshot shows how the level was supposed to end on top of the volcano. Notice the small huts up ahead, which aren't present in the final version of the game (if you get here with a hack).
- You can find out more about the unused areas in this level here.
Eskimo Roll / HUD
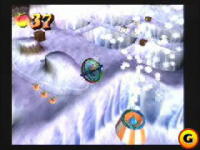
(contributed by LXShadow)- It wasn't originally snowing in Eskimo Roll.
- The first screenshot shows the area with the water and the moving platforms, which used to be nothing but a bunch of holes.
- You can see the prototype HUD in action. The crystal in the second screenshot is so shiny it looks completely white.
The Gauntlet
(contributed by LXShadow)The wooden gate on the far right used to open and close constantly. All of the gates in the final version remain open.

